A vase full of flowers is a frequent occurrence on my dining table. I love the way a pretty arrangement adds color to the room and can make me smile every time I walk past it. But a few days later, my heart inevitably breaks when I have to throw the sad, wilted blooms away. Especially if I’ve received the flowers to mark a special occasion, I always hate to get rid of them. But it doesn’t have to be this way. In fact, there’s a way to preserve the blooms for years to come, and I just discovered how easy it is. Learning how to press flowers is as simple as grabbing a book and some newspaper, and with a little patience, you’ll have a beautiful keepsake you can frame and keep forever.
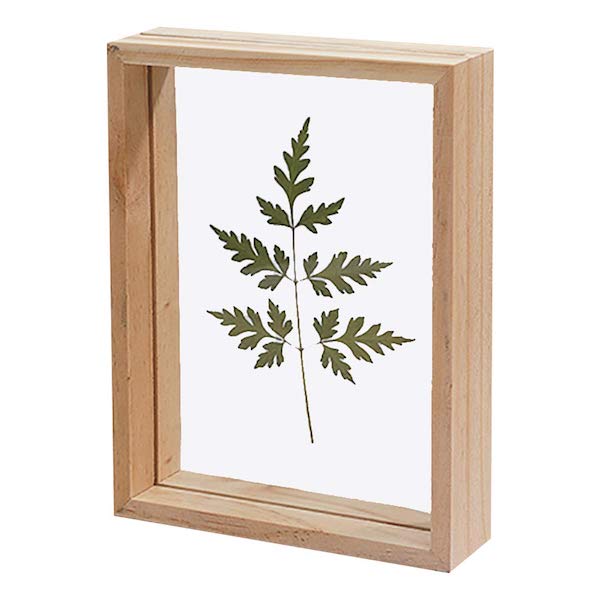
Pressing flowers requires basically zero skill, but there are a few tips and tricks to keep in mind before you begin. It’s best to start with flowers that are still fresh, so don’t wait until your blooms are already droopy and discolored. Chunkier blooms like roses or peonies will take longer to dry out—just be patient! But if you want to speed up the drying time, try separating and pressing individual petals instead of the entire bloom. Once your flowers are dry, they’ll be super delicate, so handle with care. A glass float frame is perfect for keeping them safe and showing off your gorgeous pressed flower art. Follow the steps below to make your favorite blooms last forever.

Wood Photo Frame

Brass Float Frame
2 colors available
How to Press Flowers to Create DIY Decor

Source: Pexels | Merve Bayar
Total time: 2-3 weeks | Difficulty: Easy
What you need:
Fresh flowers
Newspaper
Paper towels (optional)
A large, heavy book, plus additional books to add weight
Picture frame
Directions:
1. Pick out the flowers you’d like to press from your arrangement, and make sure the petals, stems, and leaves are completely dry.
2. Open the book and line the pages with newspaper. If you’re pressing a bulky flower like a rose or multiple flowers at once, add a layer of paper towels between the newspaper and the pages of the book to absorb excess moisture.
3. Place a flower on the newspaper, laying it as flat as possible. Repeat with any other flowers, leaving a small amount of space between them.
4. Carefully close the book, pressing the flowers between the newspaper, and use additional books or other heavy objects to weigh it down.
5. If you’re using paper towels to absorb moisture, remove these after one day. Otherwise, check on your flowers after one week and replace the newspaper if needed.
6. Allow two to three weeks for your flowers to fully dry.
7. Once dry, carefully remove the flowers and mount them in a frame. Hang or display as pretty DIY art.


